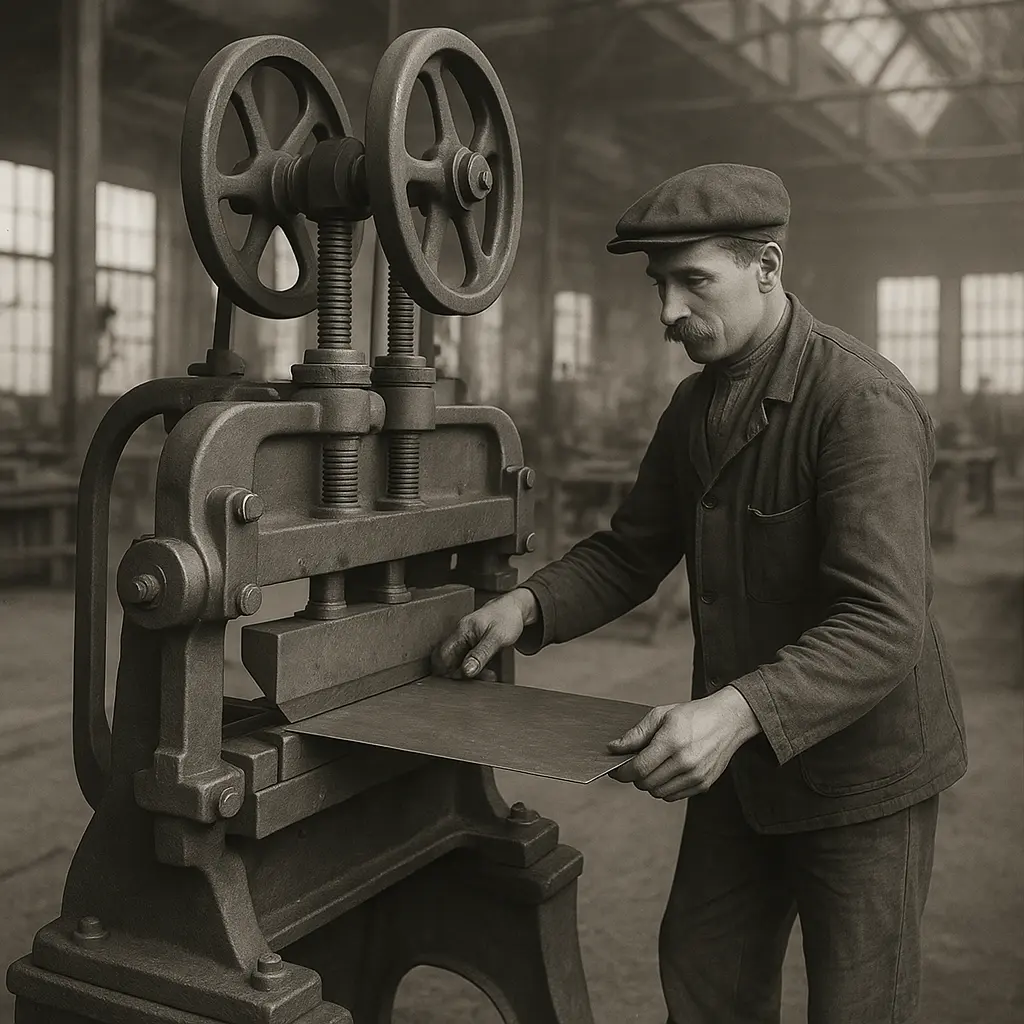
What Is a Press Brake?
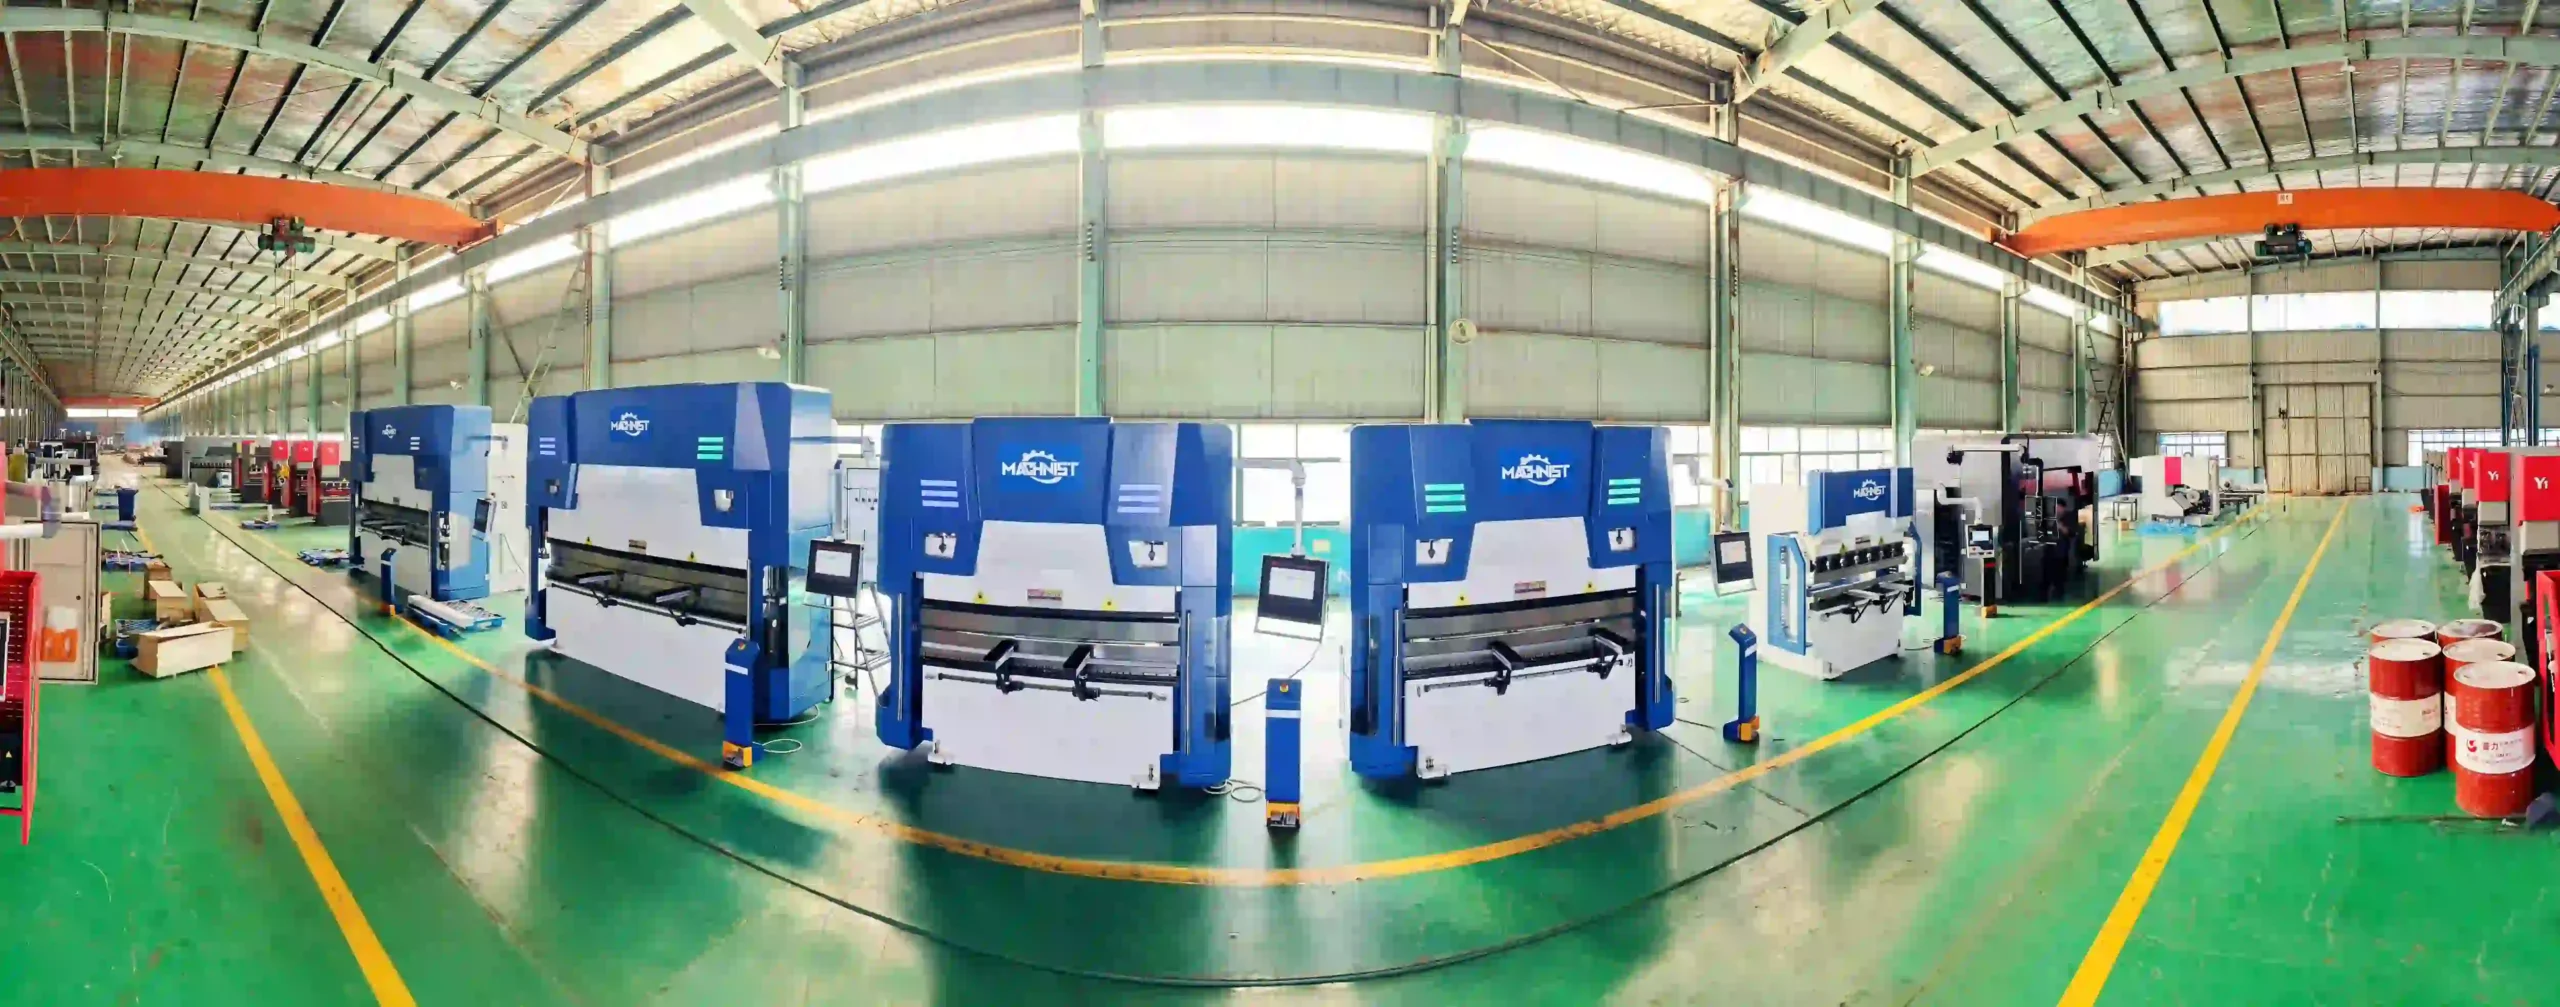
A press brake is a metalworking machine used to bend sheet metal into precise angles. You’ll find press brakes in fabrication shops, HVAC factories, and metal parts manufacturing. They come in hydraulic, electric, and hybrid types—each with their own strengths.
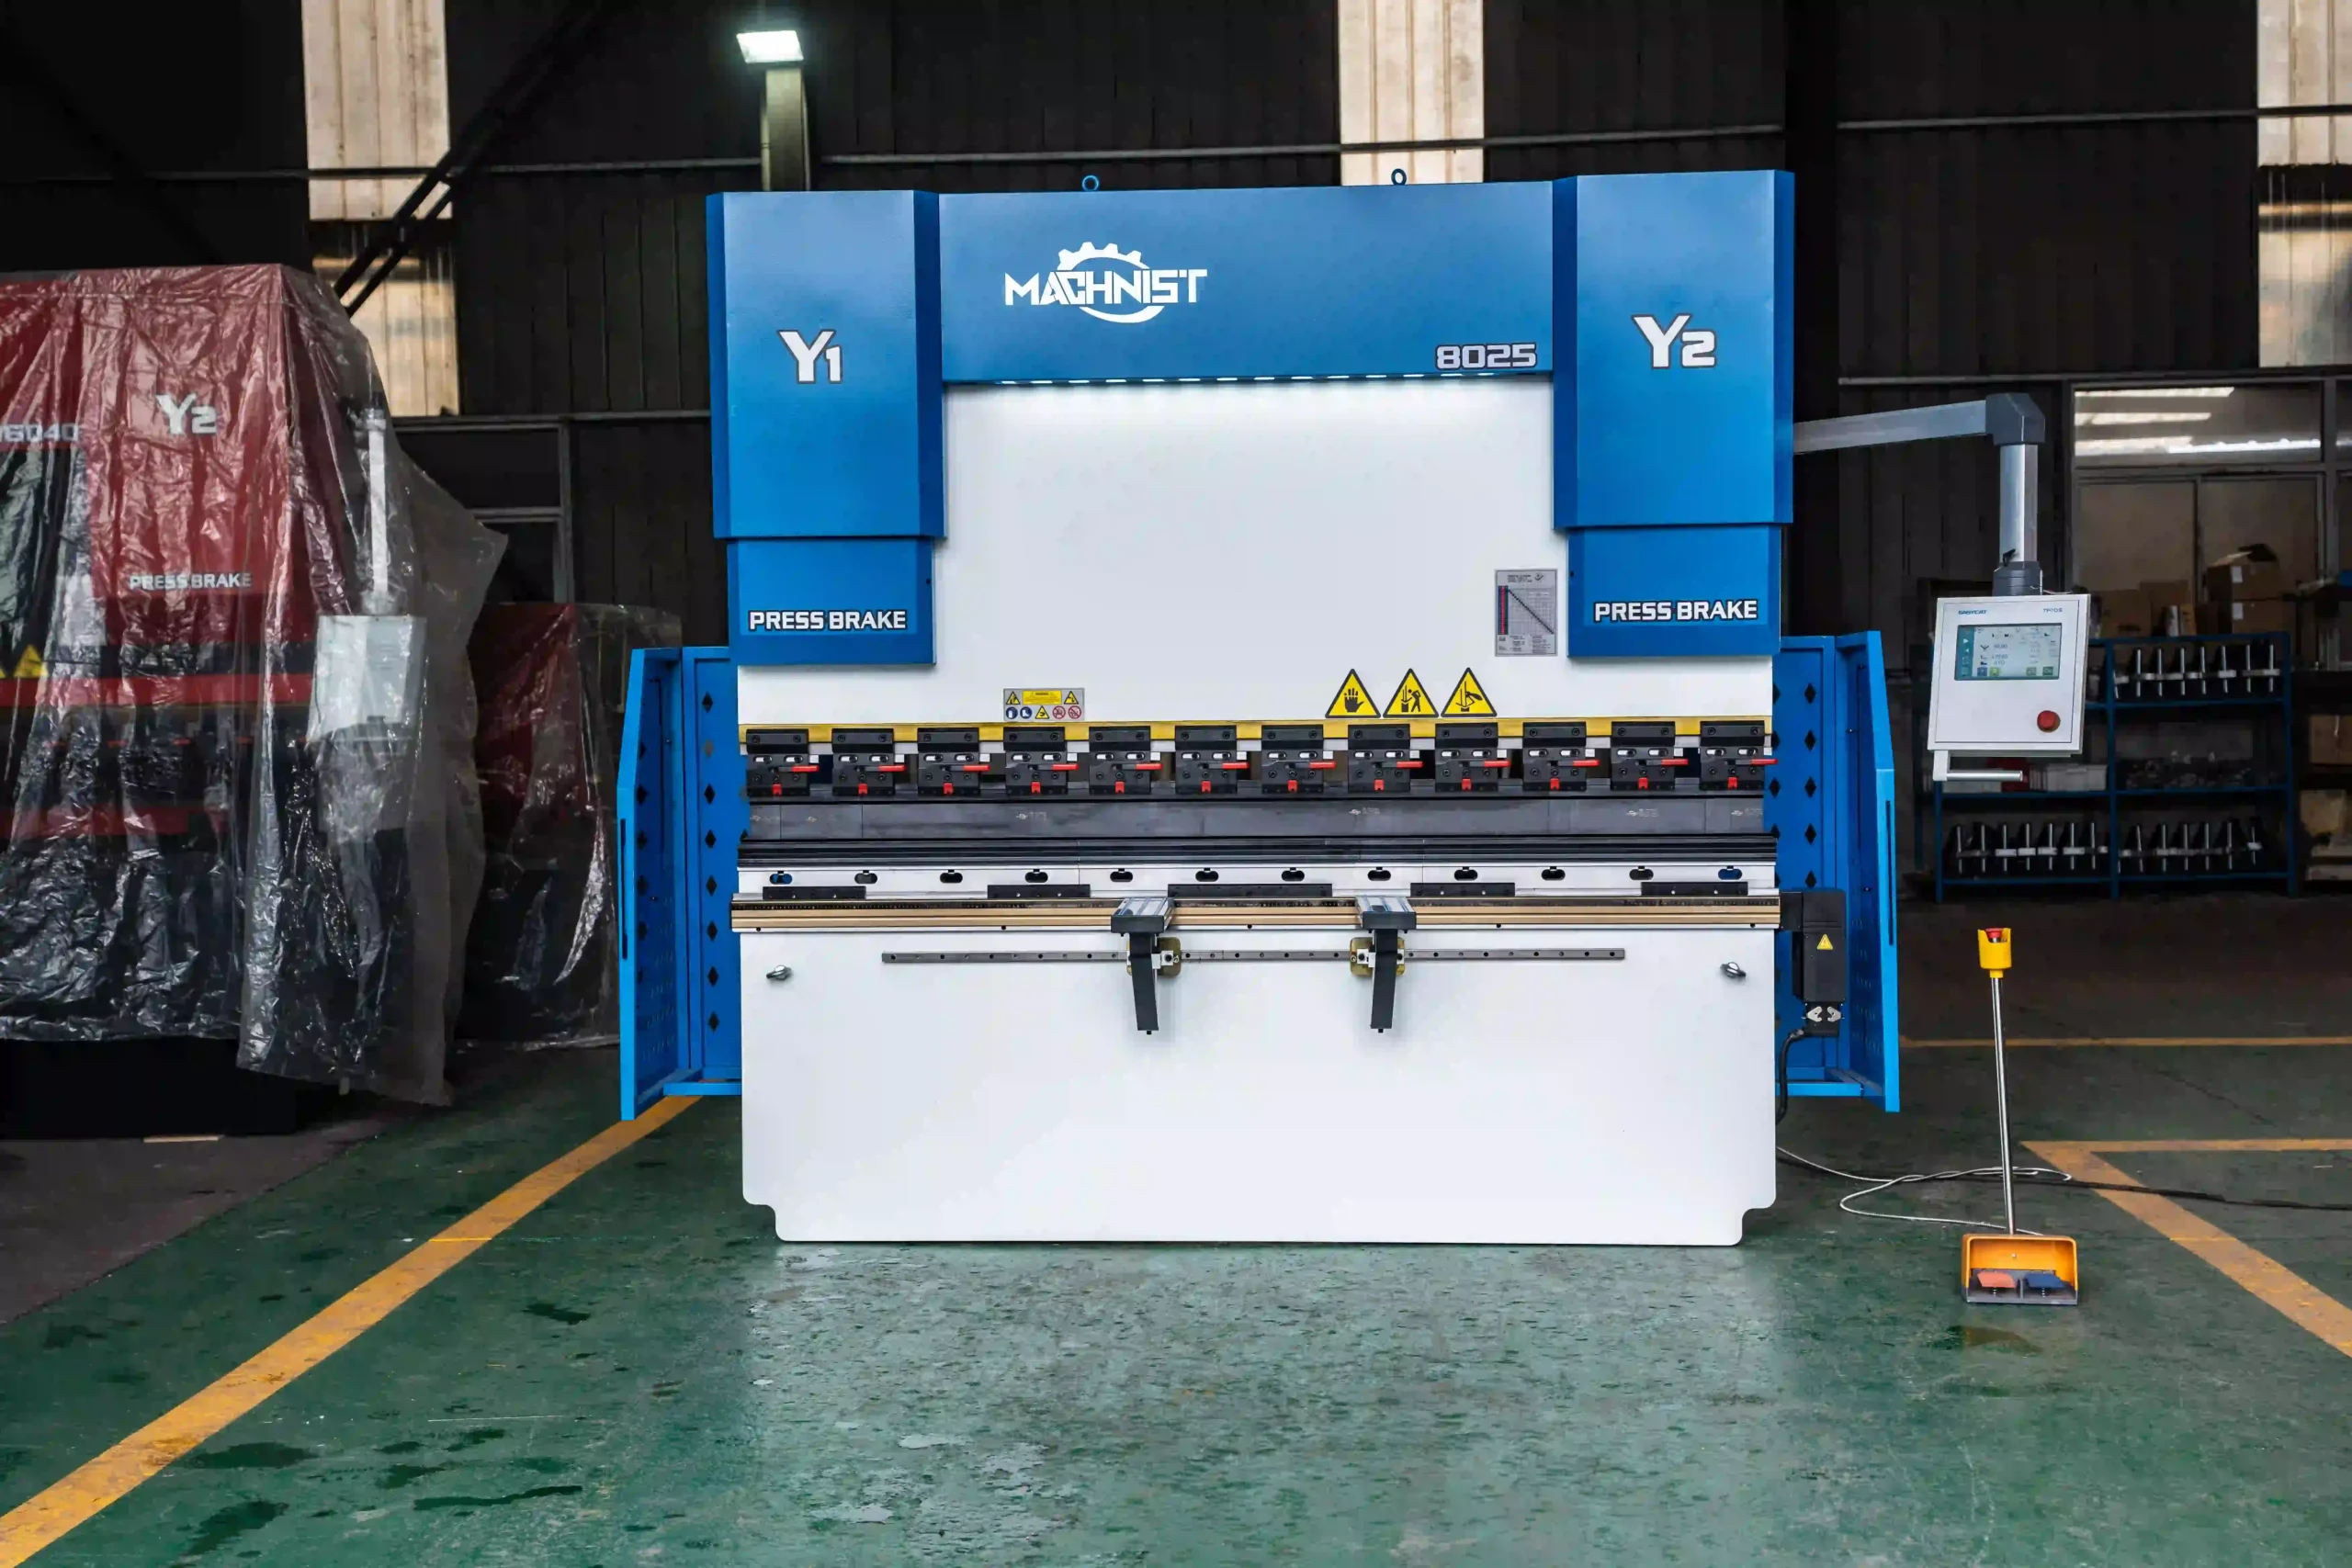
Step 1: Understand the Basics
Before you touch the machine, get familiar with:
The control system (CNC, NC, or manual)
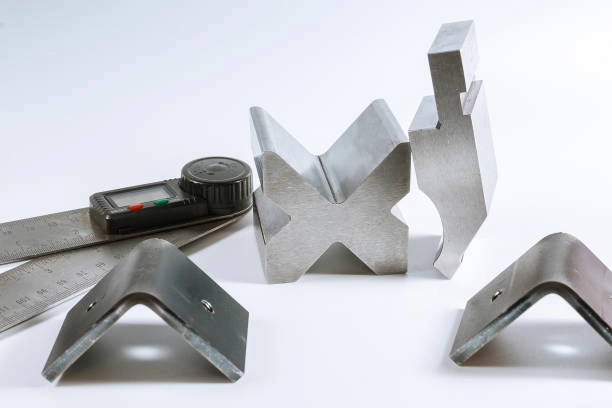
Tooling (punches and dies)
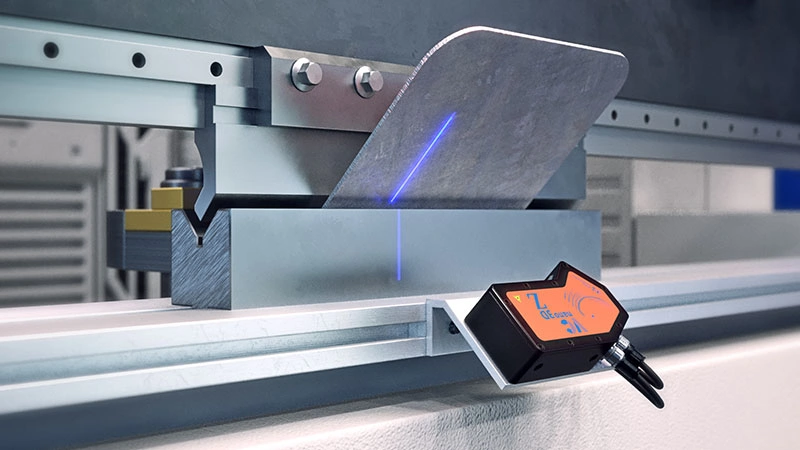
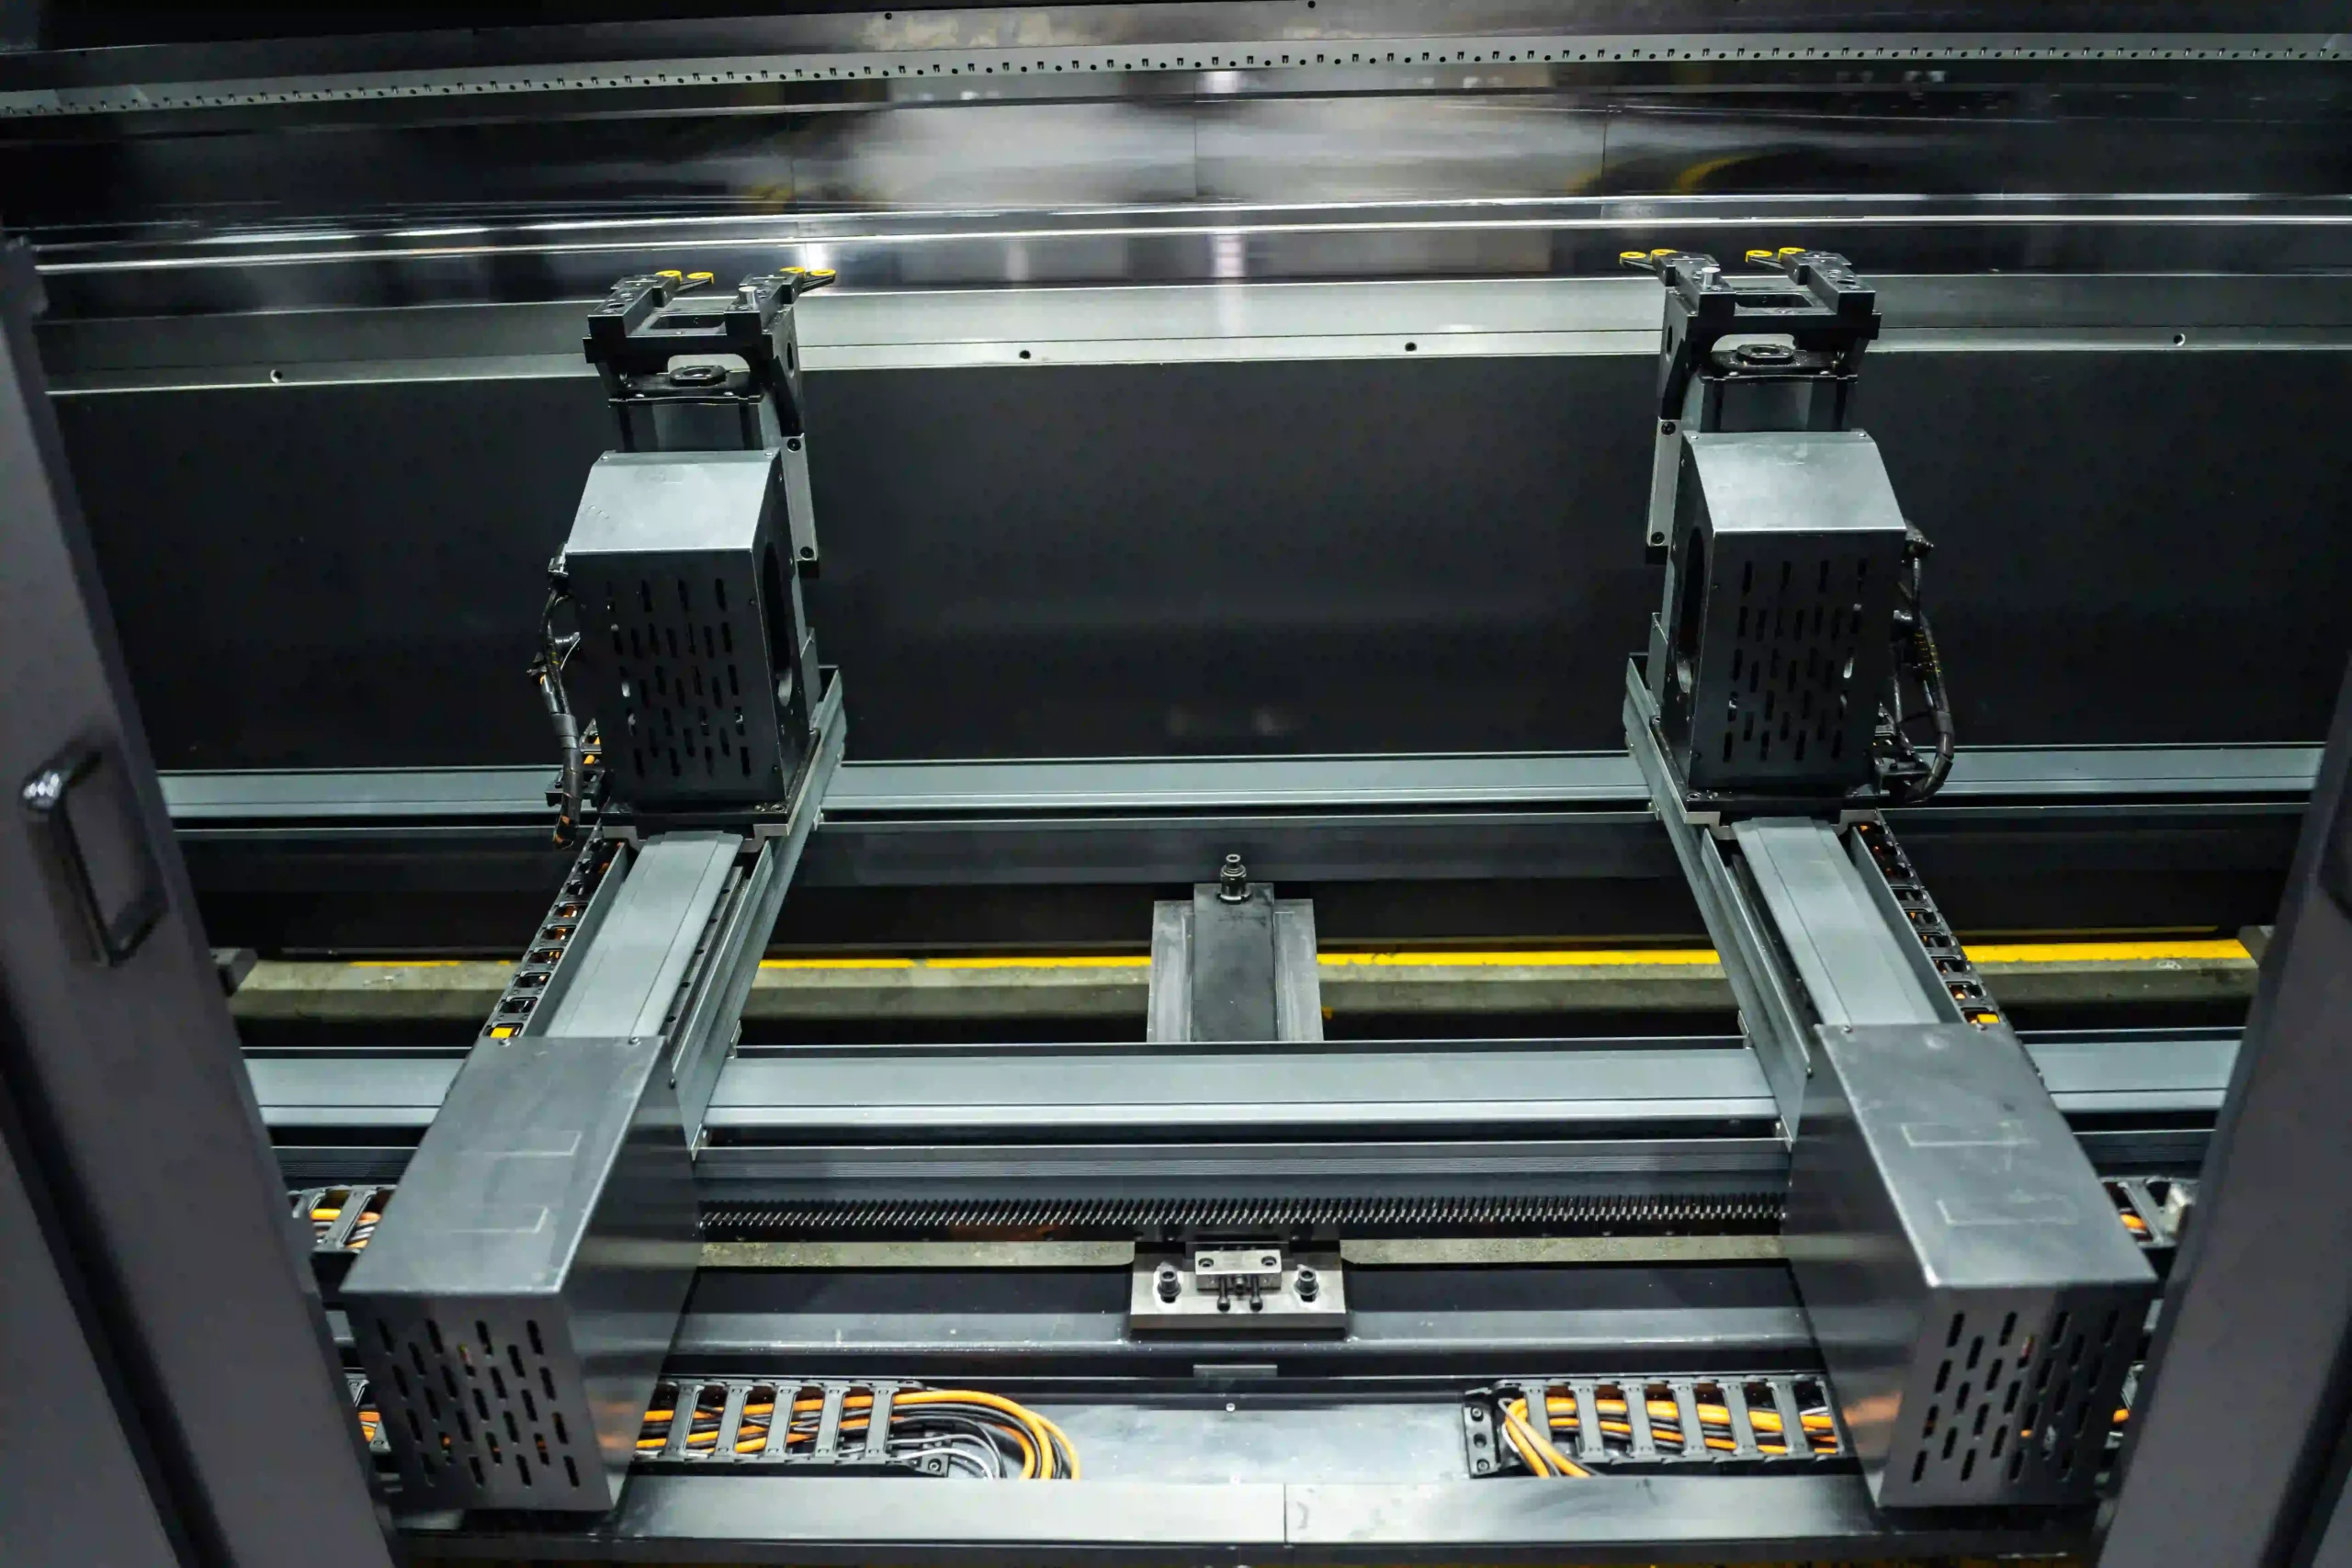
Backgauge (positions the metal)
Safety features (light curtain, e-stop, etc.)
🧠 Pro Tip: Always do a walk-around inspection before turning the machine on.
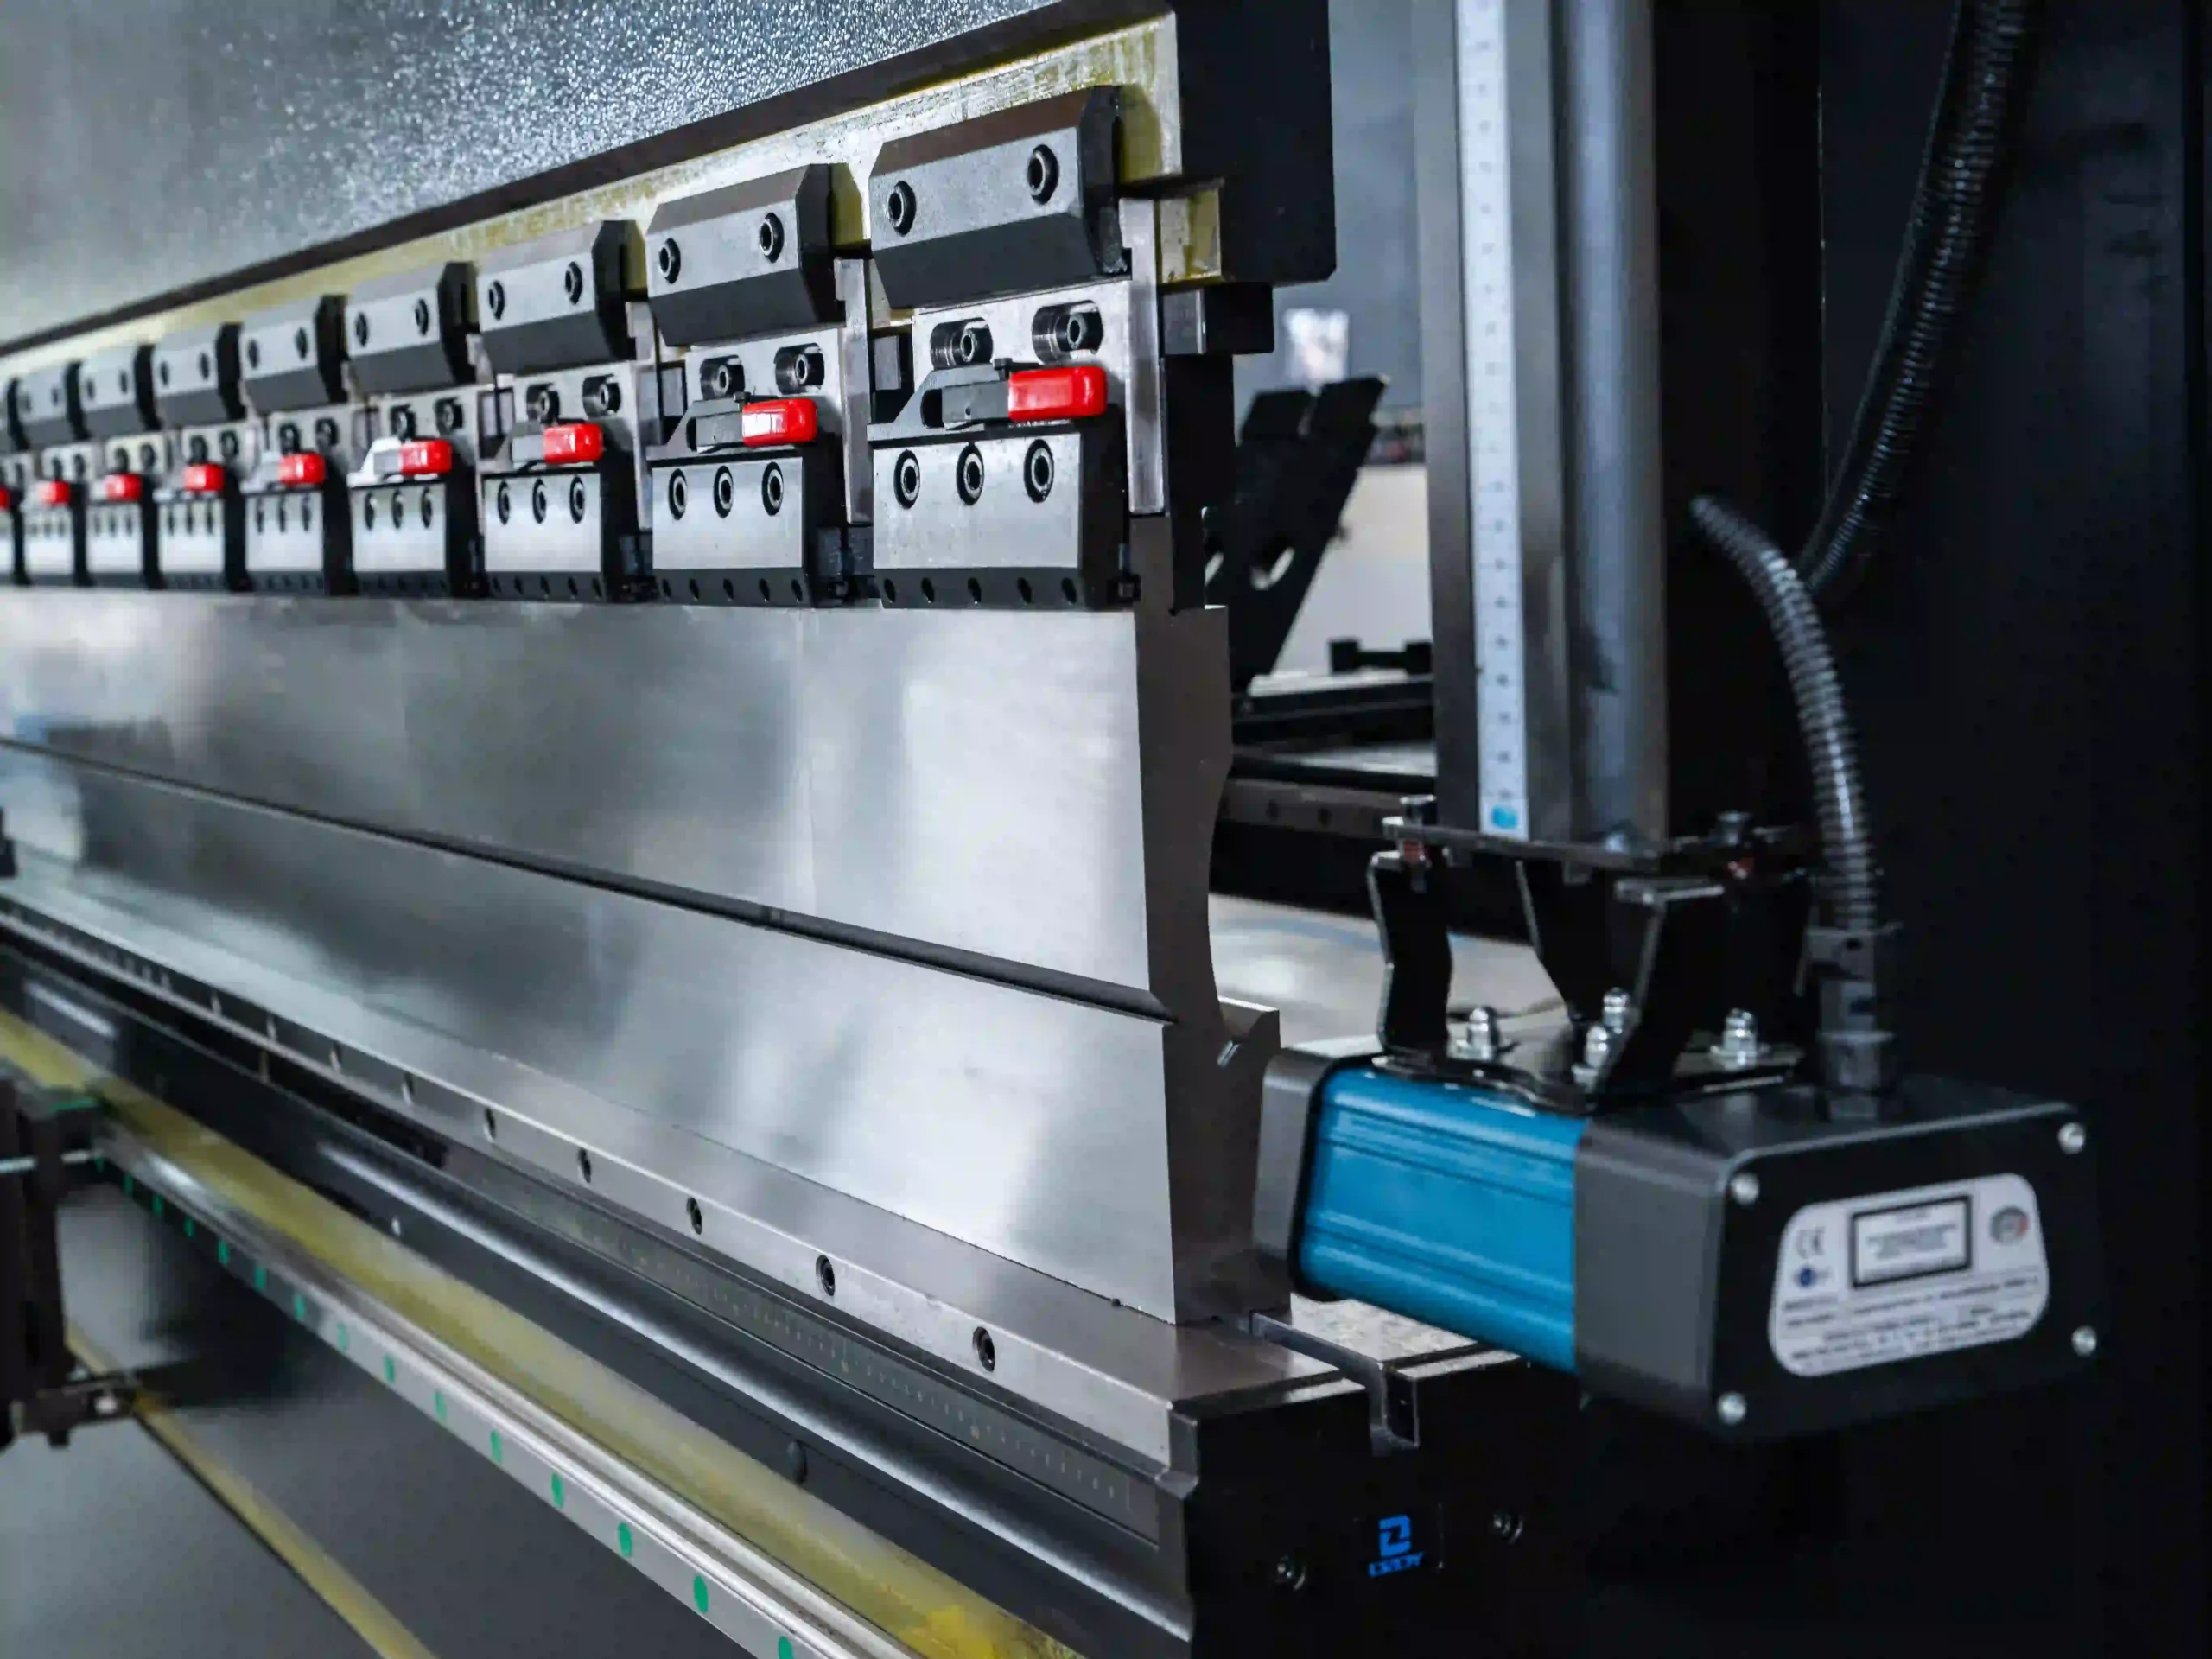
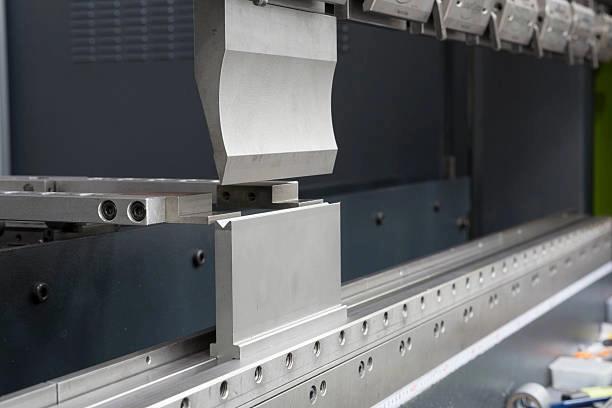
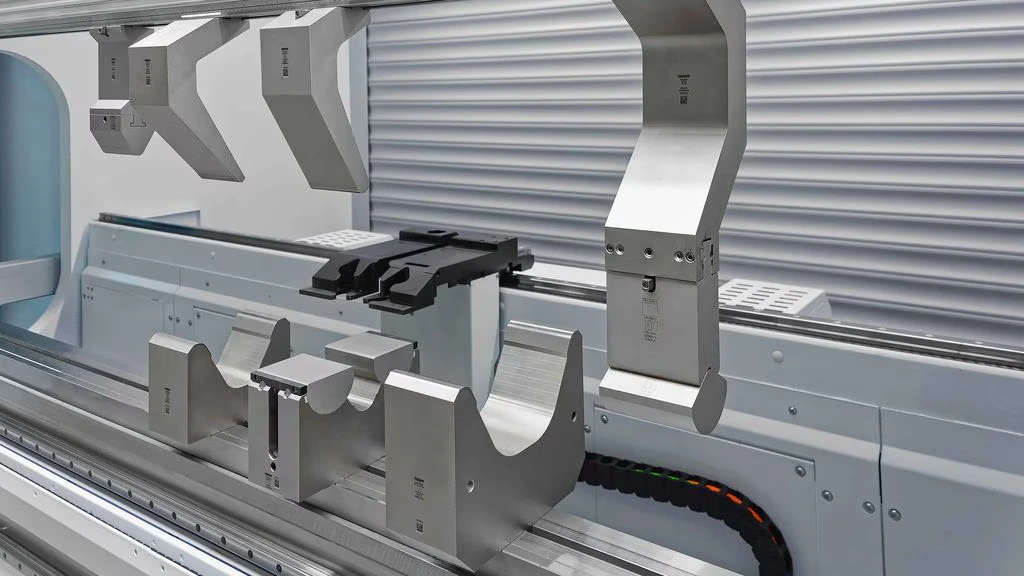
Step 2: Set Up the Tooling
Choose the correct punch and die for your material thickness.
Install and align the tools carefully.
Tighten all clamps securely.
Using the wrong tooling can lead to inaccurate bends—or worse, tool damage.
Step 3: Program Your Settings
If you’re using a CNC press brake:
Input material type, thickness, bend angle, and flange length.
Set the bend sequence and backgauge positions.
Preview the bend using the control screen (if supported).
For manual or NC press brakes:
Set the stroke depth using mechanical stops or dials.
Adjust the backgauge position manually.
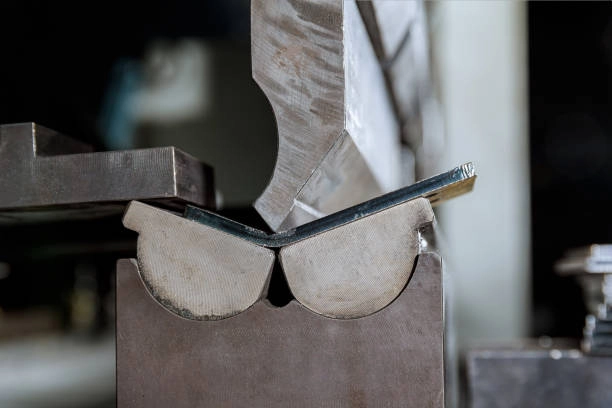
Step 4: Run a Test Bend
Always test with scrap metal first. Check:
Bend angle
Length and accuracy
Alignment
If the bend is off, adjust the stroke, tooling, or backgauge.
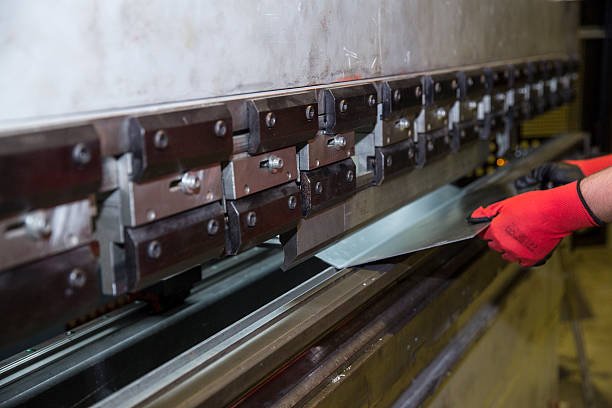
Step 5: Begin Production
Once the test is approved:
Load the real workpiece.
Use front supports if needed.
Start the bending cycle using the foot pedal or control panel.
Repeat for each piece, always watching for variations or signs of tool wear.
Safety Tips You Shouldn’t Skip
Keep hands away from moving parts.
Never reach under the punch.
Wear gloves and safety glasses.
Don’t bypass safety features—ever.
Final Words
Knowing how to use a press brake is essential for anyone working in metal fabrication. Whether you’re working with a basic machine or a full CNC system, accuracy starts with setup and safety. Follow this process and you’ll get clean, consistent bends every time.